Posting a Message
Posting a Message will queue it to be delivered to the Message's targeted Contacts.
To post a Message
- From the Component List, click the Message you would like to view.
- Click the Modify button from the Action Bar.
- A Component window will be launched displaying the Content view.
- From the View Bar, click Summary.
- From the Summary view, click the Post button.
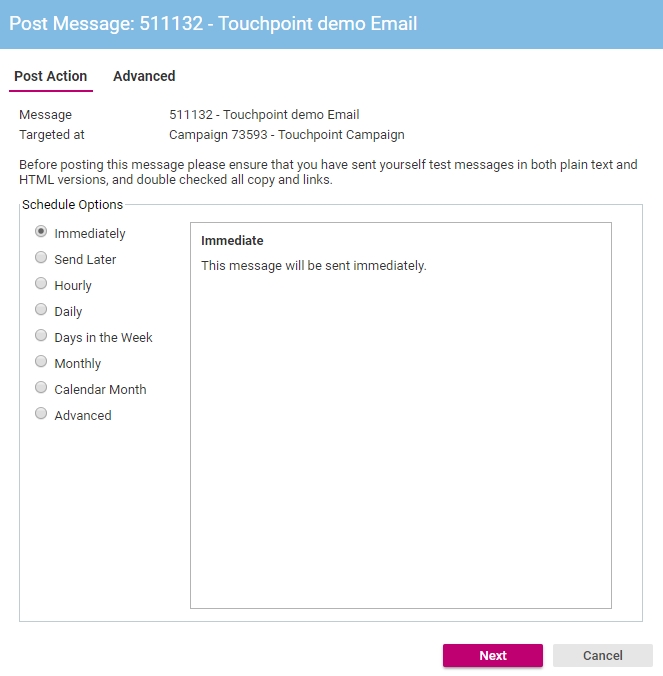
- The Post Message dialog will be loaded.

- Define the Message scheduling. The default is for the Message to be sent immediately.
- Click the Advanced tab.
- From the Transmission list, you can click either:
- Create New Transmission which will create a new transmission for this post. If this Message is on a recurring schedule, a new transmission will be created each time this Message is sent.
OR
- Append to Latest Post Transmission which will append the results from this post to the latest transmission. If this Message is on a recurring schedule, each time the Message is sent results will be appended to the same transmission.
- Create New Transmission which will create a new transmission for this post. If this Message is on a recurring schedule, a new transmission will be created each time this Message is sent.
- Click the Next button to continue.

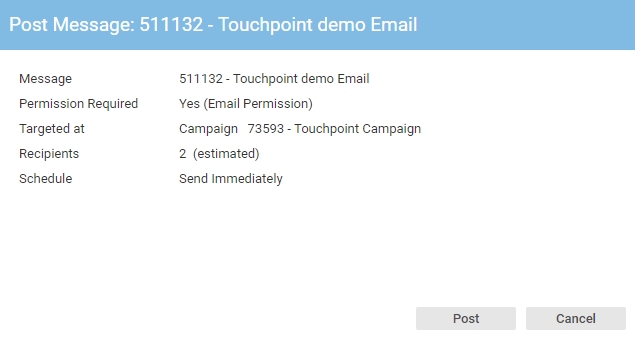
- Confirm that the settings are correct and click the Post button to post the Message.
Even when scheduled to send immediately, a Message will be queued for five minutes before it is sent. This allows some leeway for cancelling a Message that has been inadvertently posted with errors.
In This Section |
See Also |